Chemical Damp Course Inner West
A continuous water-repellent barrier injected into the mortar bed, without taking the wall apart.
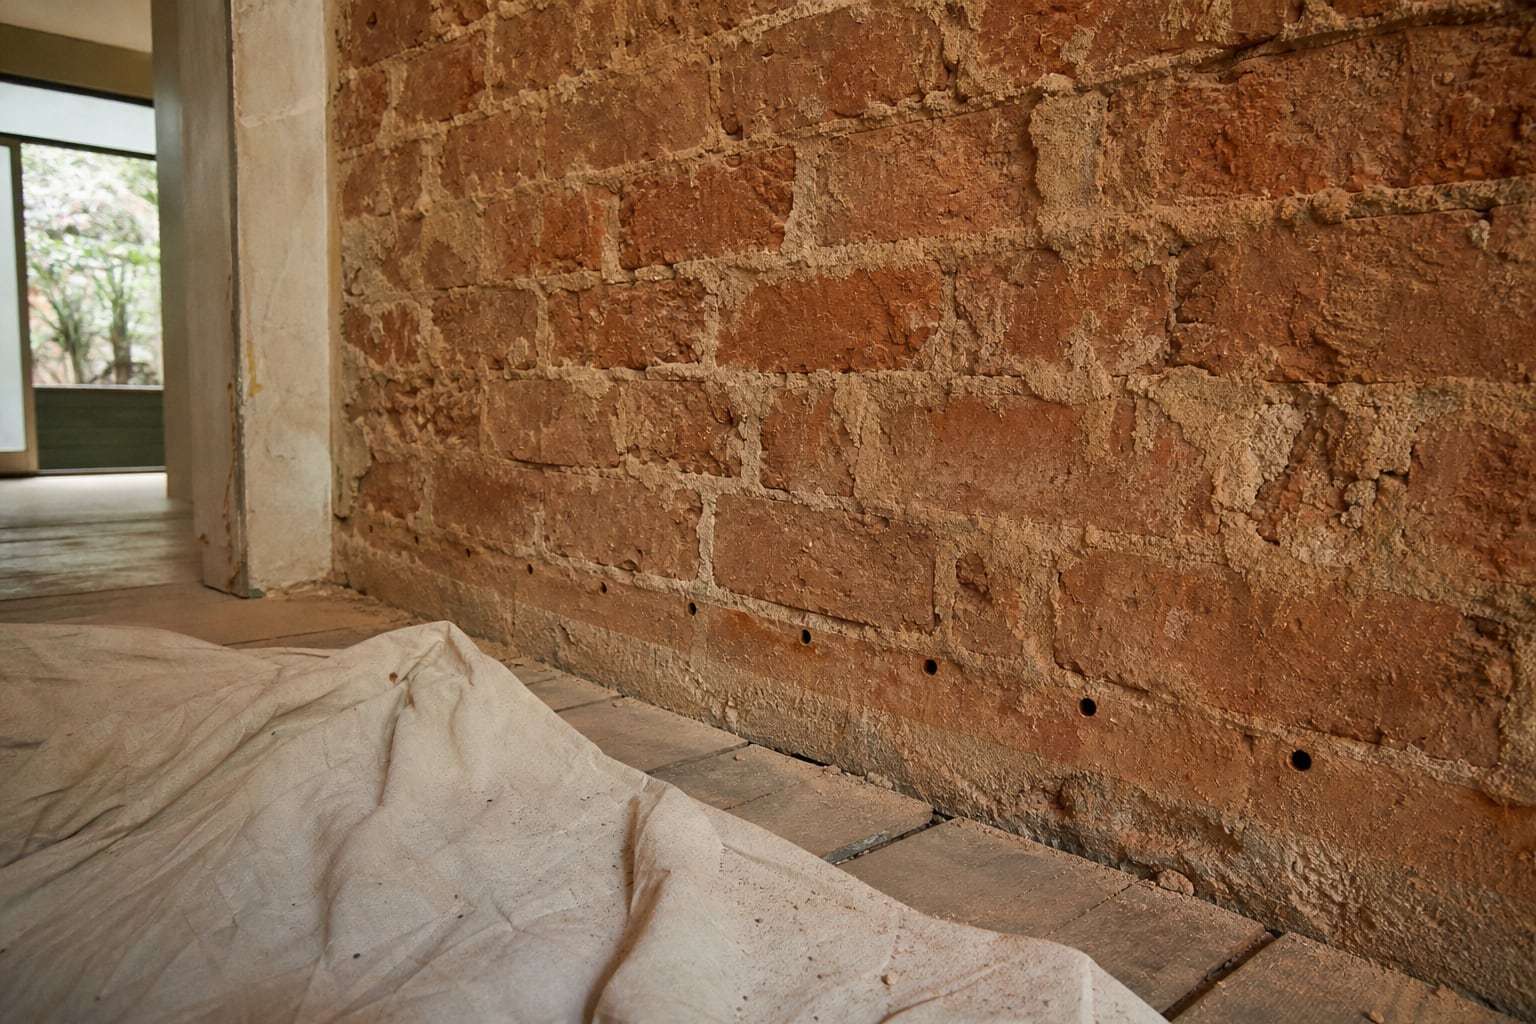
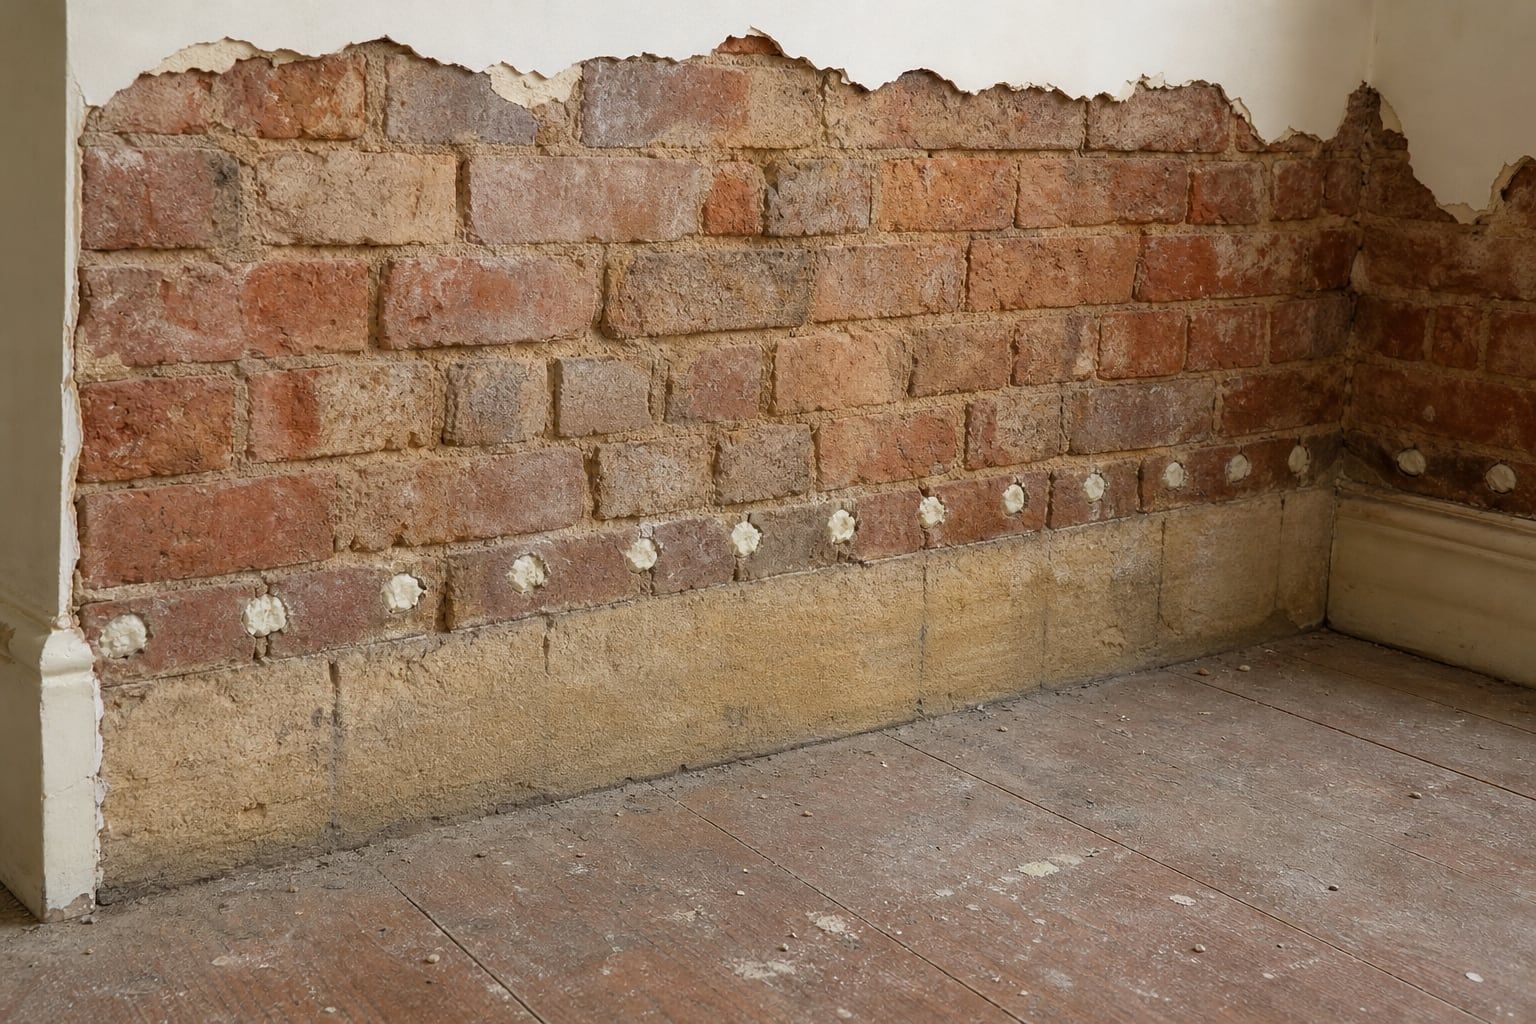
A chemical damp course is the most common way to stop rising damp in the solid brick walls found across the Inner West. Instead of cutting the wall, a row of holes is drilled into the mortar joint near the base, and a silane-based cream is injected into each one. The cream spreads through the mortar and cures into a water-repellent band that the moisture can’t climb past.
When injection is the right choice
Injection suits most of the walls we see in Inner West terraces and cottages: solid or double brick laid in lime mortar, with a failed slate or bitumen damp course or no damp course at all. It works on external walls, internal walls that carry the same problem through from the subfloor, and party walls shared with a neighbour, treated from your side.
It is less suitable for rubble-filled stone walls with large voids, walls where the mortar has crumbled to sand, and walls that are wet because of water pushing in from the side rather than rising. For those we may recommend a physical damp course or waterproof tanking instead, and we explain why at the inspection.
Getting the height right
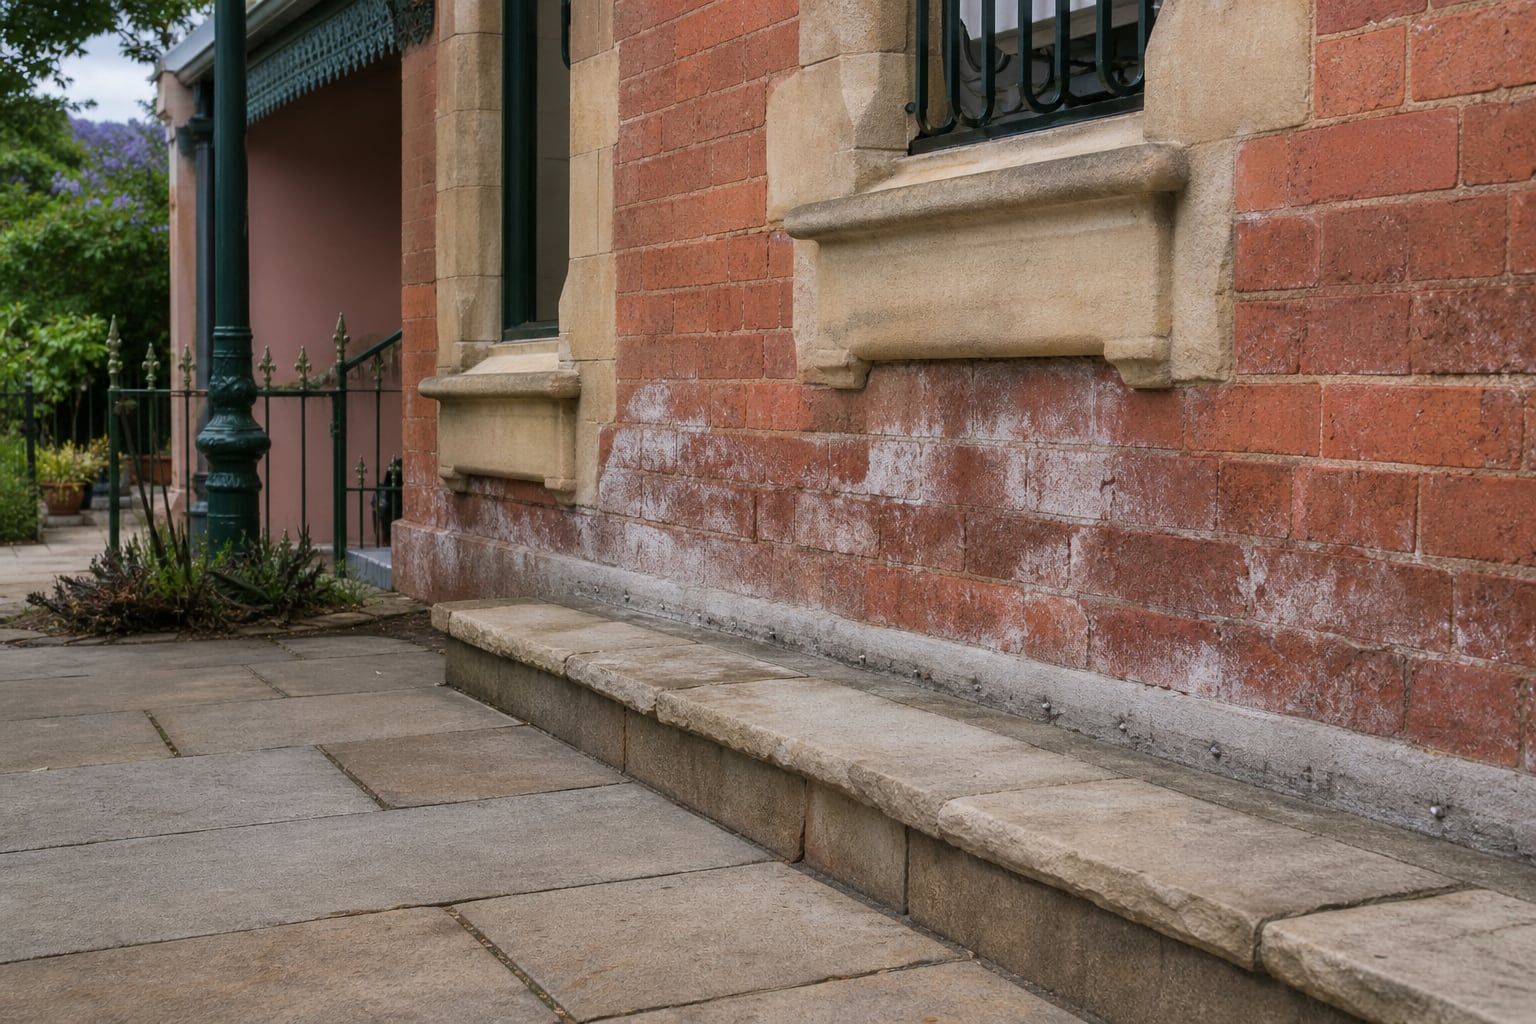
The new barrier has to sit below the floor level inside and above the ground level outside. In many Inner West homes the ground has crept up over the decades through new paving, garden beds and courtyard slabs, so the only way to get a working damp course is to lower the outside level first. We point this out on the day, because a damp course installed below a raised path will be bridged straight away.
What the job involves
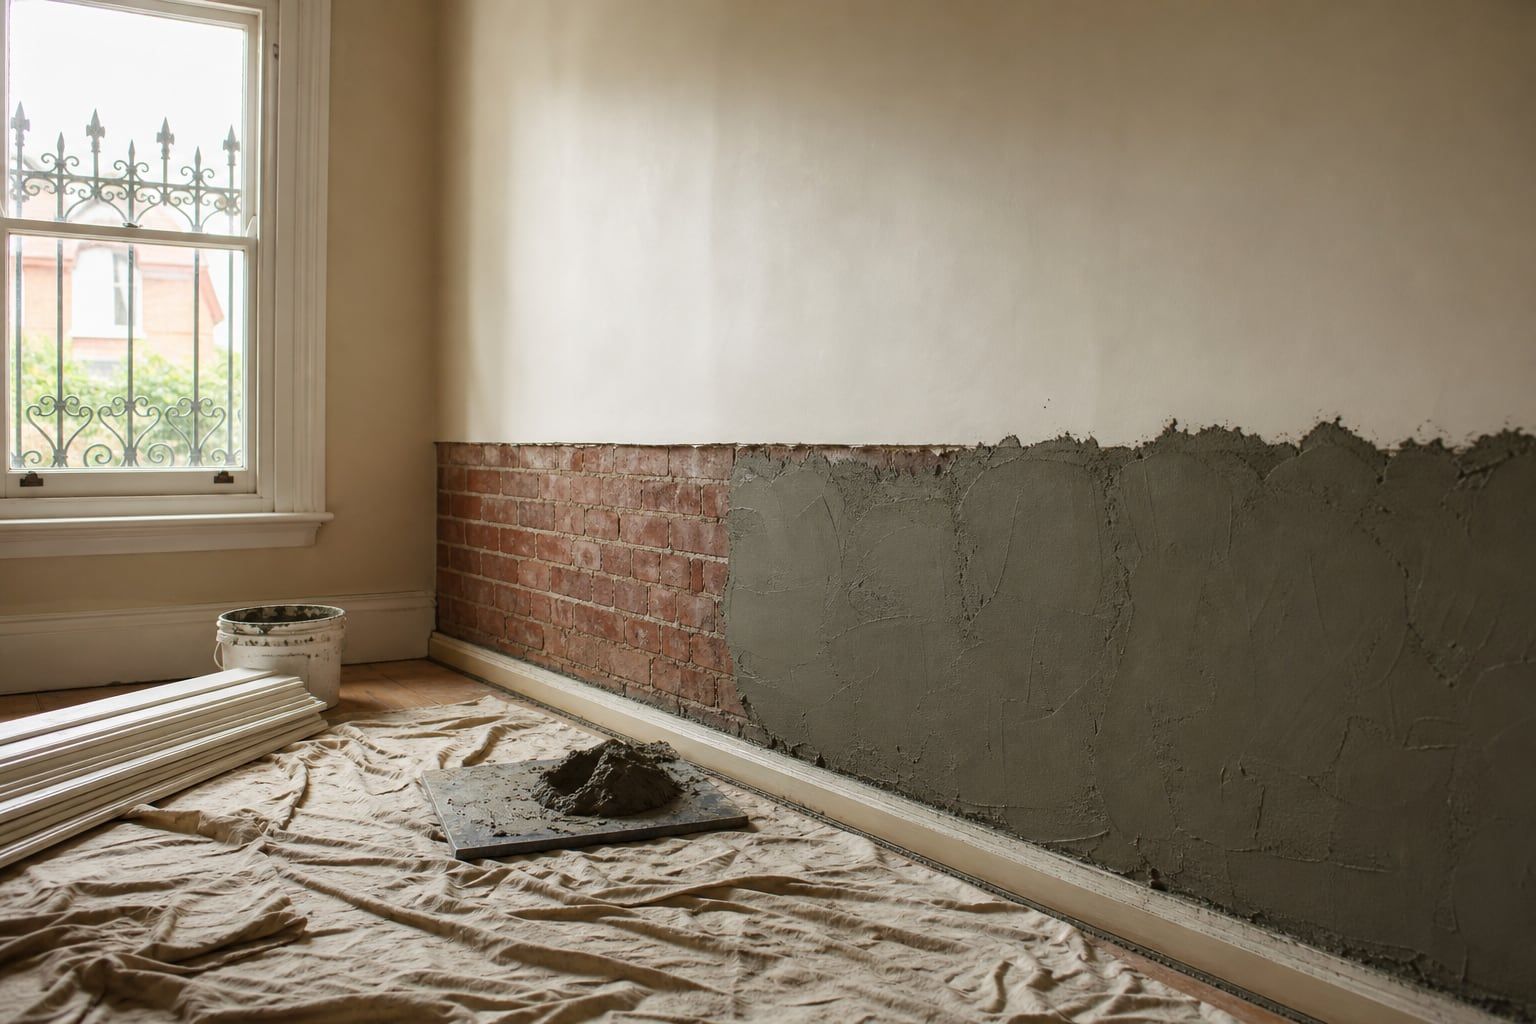
Most terraces are done in one to three days. Furniture is moved off the walls, skirting boards are removed and kept where they can be reused, and the salt-damaged plaster is cut back to above the tide mark. The wall is then drilled and injected along the line, and the holes are filled. Drilling is noisy and dusty, so we seal doorways and clean up as we go.
After the damp course
The wall above the new barrier still holds the water and salt it has collected over years. It dries over the following weeks and months, faster in summer and in well-ventilated rooms. Replastering too early with ordinary gypsum plaster traps the salt and the stains come back, which is why we use a salt-resistant render in our salt-damaged plaster repair work. If the readings point to the subfloor as well, subfloor ventilation helps the walls dry out faster.
Questions people ask
Will it smell? The modern creams used for injection are low odour and water based. Is it safe for my family and pets? Yes, once cured, and the work area is kept closed off during the job. Does it need maintenance? No, but keeping garden beds, paths and mulch below the damp course line protects it.
Is this my problem?
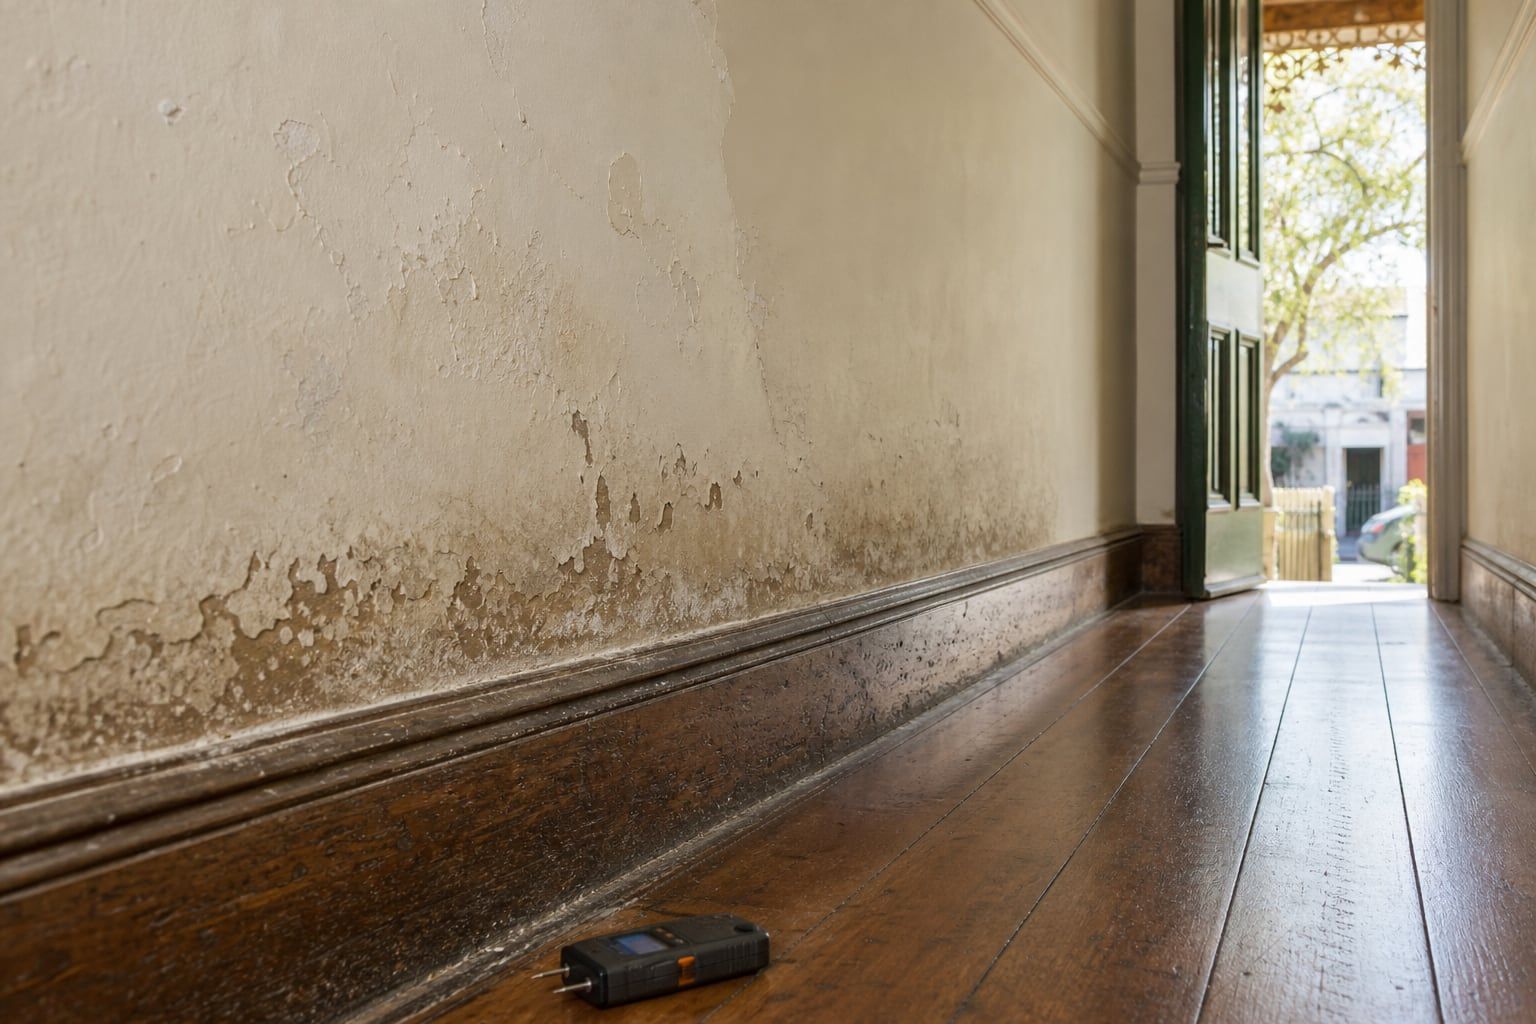
If you have bubbling paint along the bottom of the wall, a brown line about knee height, or white powder on the plaster, our guides to rising damp tide marks and salt deposits on walls will help you read the signs. The best next step is a free moisture inspection, where we confirm whether injection is right for your walls and give you a fixed-price quote for complete rising damp treatment.
Updated
What good chemical damp course looks like
Frequently asked questions
Does a chemical damp course work on double brick?
Yes. Cavity and solid double-brick walls are treated from one or both sides depending on thickness and access. Thick sandstone walls in older Balmain and Glebe houses may need injection from both sides.
Can you see the holes afterwards?
The holes are filled with mortar mixed to match as closely as practical. On face brick they are in the joint, not the brick, so they blend in, and inside they are hidden under the new plaster and skirting.
How long before I can repaint?
The barrier works as soon as it cures, but the wall above still holds water and salt. We replaster with a salt-resistant render, and the finish coat can usually be painted after the drying time we give you for your job.
Chemical Damp Course in the Inner West: step by step
- Mark the lineWe find the lowest practical mortar joint above ground and floor level on each wall to be treated.
- Drill the bed jointHoles are drilled at close, even spacing along the joint to the depth the wall thickness needs.
- Inject the creamDamp-proofing cream is injected into each hole so it spreads through the mortar and joins into one barrier.
- Seal and waitHoles are filled with matching mortar and the wall is left to dry before any new plaster goes on.
Chemical Damp Course guides for Inner West homeowners
Chemical Damp Course across the Inner West
Ready to get it quoted?
Get a fast, free quote from a local damp specialist. No obligation.